GonnaOrder allows you to let customers reserve tables on their own. This option gives your customers more control over their reservations and also enhances the overall convenience of the process. By supporting customer reservations, you can encourage more customers to make reservations, boosting your business revenue.
On This Page
- Activate Customer Reservations Settings
- Choose the Reservation Date and Number of People
- Select Your Preferred Slot from Available Slots
Activate Customer Reservations Settings
For customers to be able to reserve tables, the store owner must enable the customer reservation settings. To do so, go to Settings on your store’s dashboard and click Reservations.
Toggle the Allow customer reservations switch to Yes.
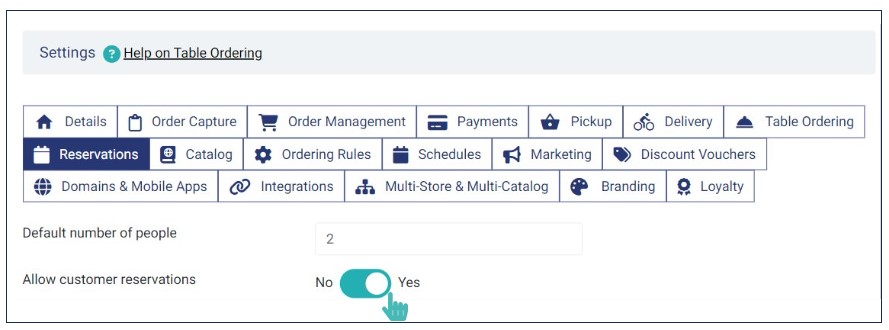
Also, configure the other reservation settings, such as the default number of people, reservation duration, schedule, and desired time intervals. These settings dictate how customers are able to make reservations in your store. Visit the dedicated Manage Table Reservation Settings article to learn more about these settings.
If you have not enabled the Allow customer reservations setting, your customers will not be able to reserve a table. Instead, they are notified that there are no available slots for reservation when they attempt to reserve a table.
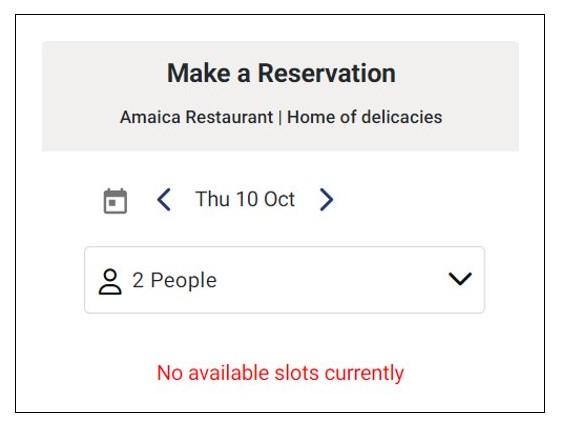
Also, if you try to make a reservation when there are no more available slots for that day, you are notified of the same.
Choose the Reservation Date and Number of People
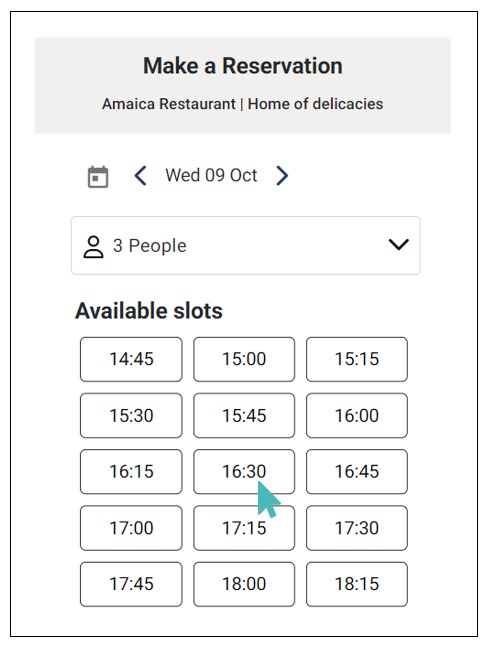
On the reservation interface, choose the date you want to reserve a table. You can select a same-day or future date reservation depending on your needs. Use the forward and backward arrows or click the calendar icon to choose the your preferred reservation date and select the number of people from the dropdown list.
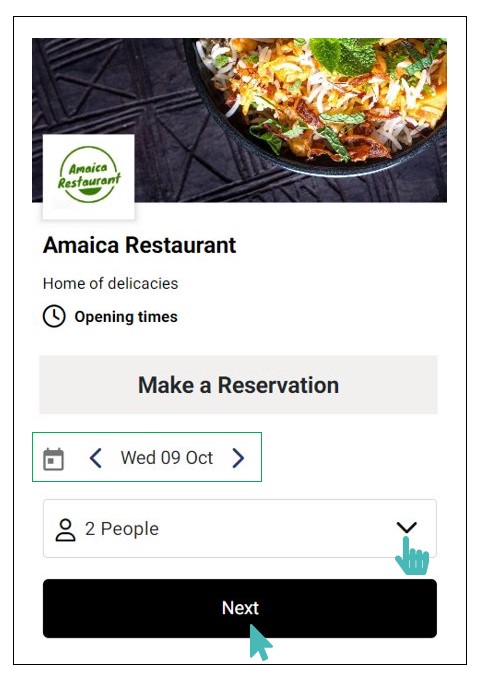
Confirm the options you just selected and click Next.
Note
You can reserve a table for up to 20 people. Simply select the number of people you would like to reserve a table for from the dropdown.
Select Your Preferred Slot from Available Slots
As a customer, you can view all the available slots. Choose one that matches your reservation needs from the available slots.
Enter the following details on the page that appears:
Name
Phone
Notes (optional)
The name, email, and phone fields may be mandatory, optional, or hidden, depending on the store’s settings. For more information on these settings, refer to the dedicated Manage Table Reservation Settings help page.
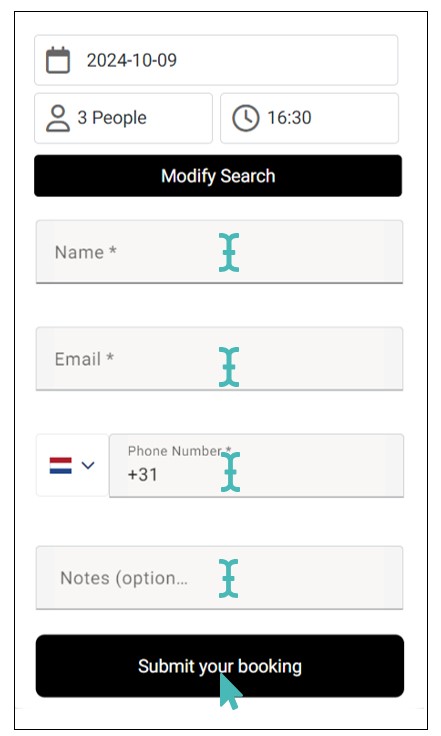
Confirm your details and click Submit your booking.
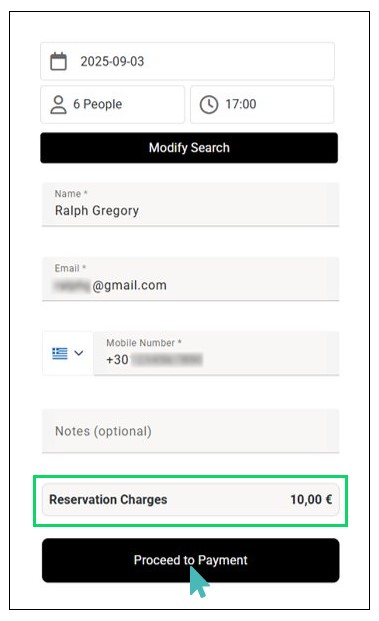
However, if you have set charges for reservation (either Per person or Per reservation), the customer will have need to make a payment by clicking Proceed to Payment.
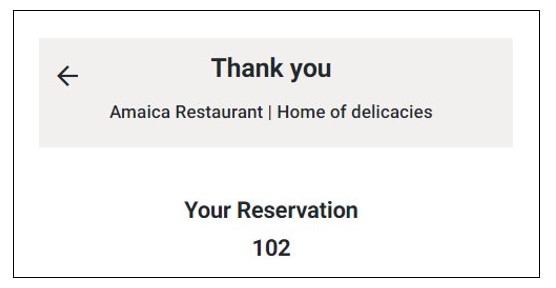
Once done, the customer will see the reservation submission thank you page.
You are strongly encouraged to provide your email even if it is not set as mandatory. This enables you to receive updates on your reservation status. You will also get an opportunity to enter your email after you submit your reservation (if you had not entered it during the booking phase).
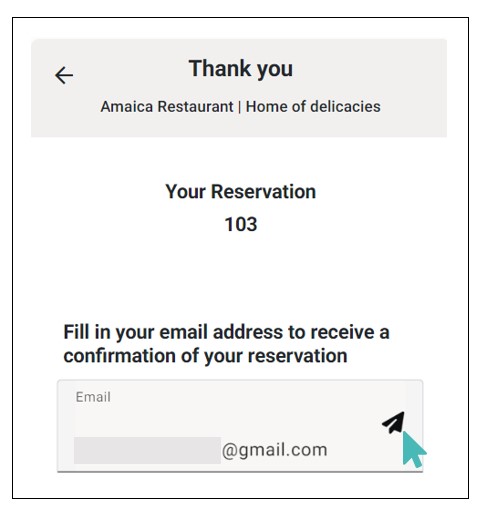
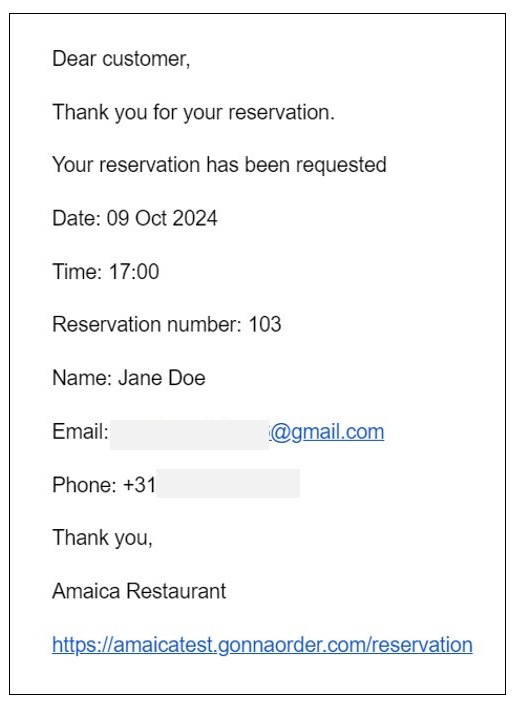
Upon submitting your email, you are notified about the current status of your reservation. Also, you can receive updates on changes in reservation status, enabling you to stay informed about your reservation.
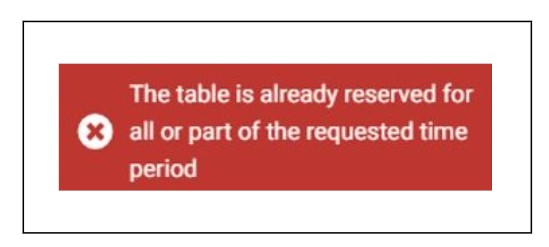
If during the process of making a reservation, another customer submits a reservation for the same time you had chosen and no other table is available for reservation during the selected period, then you are notified that the time selected is no longer available.
Modify Search for Available Slots
When you encounter the above issue, you can choose another available slot and make a reservation. To do so, click Modify Search and select another slot from the list. This will not only allow you to edit the reservation slot but also the date of reservation and number of people.
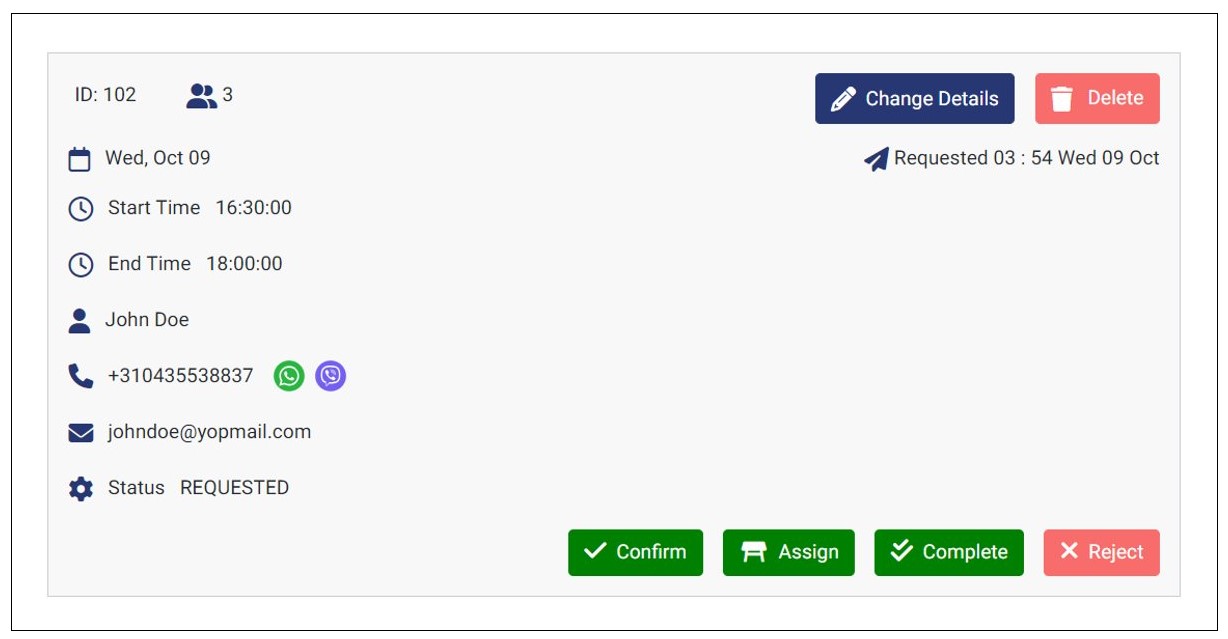
Once you have successfully submitted your reservation, the store owner can view it and take the necessary action. You can be informed whether the reservation has been accepted, assigned, or rejected via email if the store owner enabled the email customers on reservation status change setting.
