The Order Management tab under Settings is where store managers can configure emails, order processing times, notifications, accept, delete or update order settings.
On This Page
- Email Customer on Order Status Change
- Send SMS Notification to Customers When Orders are Ready
- Email Customers When their Order Delivery Status Changes
- Set Order Processing Time
- Automatically Accept Orders
- Manage How Order Receipt PDF Appears
- Select the Preferred Order Receipt PDF Font
Email Customer on Order Status Change
Keeping your customer in the know is a core value that many businesses hold dearly. GonnaOrder lets you inform your customers via email when you accept or reject orders. However, you have to enable this setting from your store dashboard.
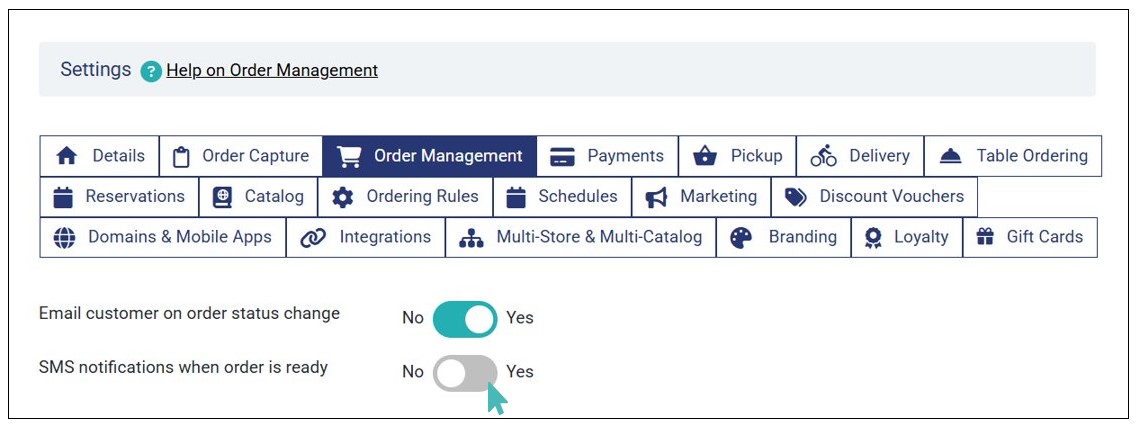
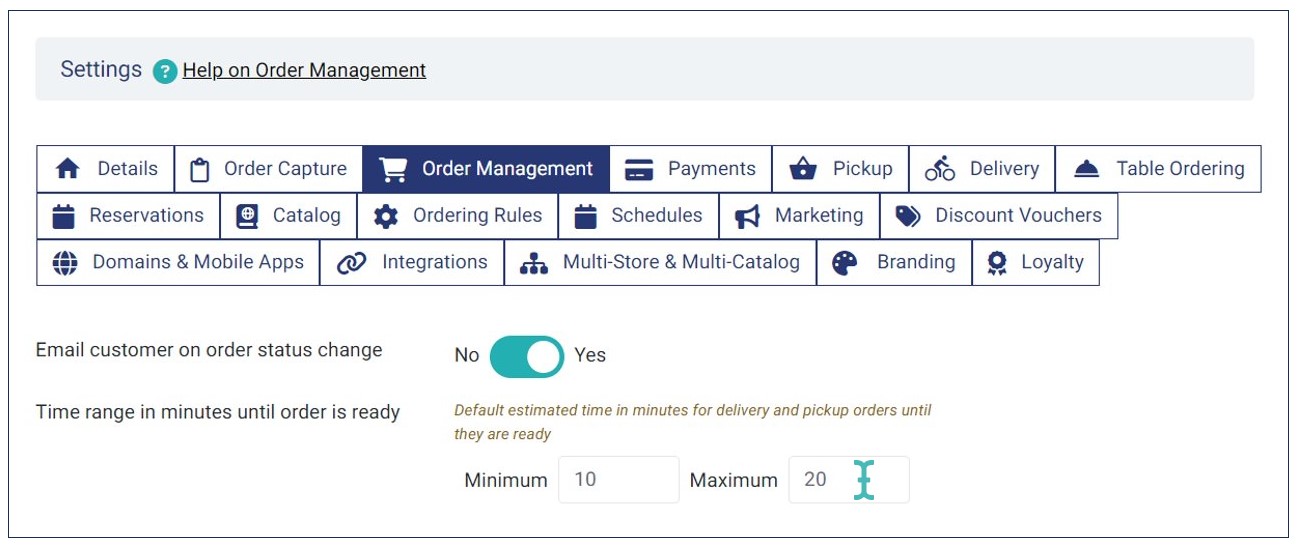
To do this, you visit the store dashboard and click Settings on the left menu. Click the Order Management tab and toggle the Email customer on order status change to Yes.
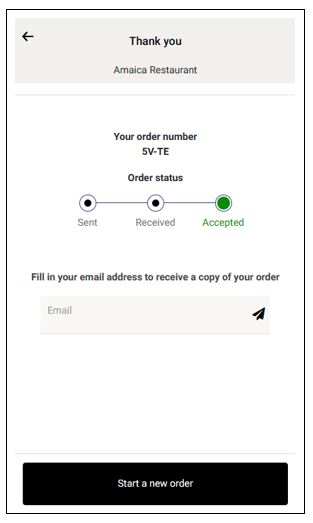
When you activate this setting, customers will receive a short email notifying them of the status of their order. Note that a customer may opt not to provide you with their email, which means that not all customers will receive the notification. However, that is okay because they can still track their order on the checkout page.

The order status changes for which the customer will receive an email are:
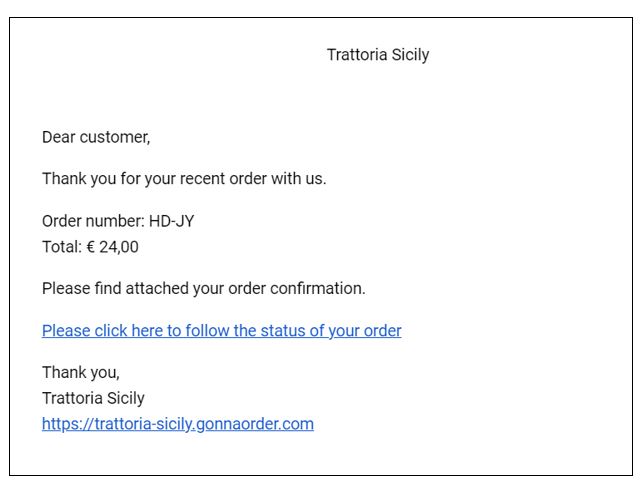
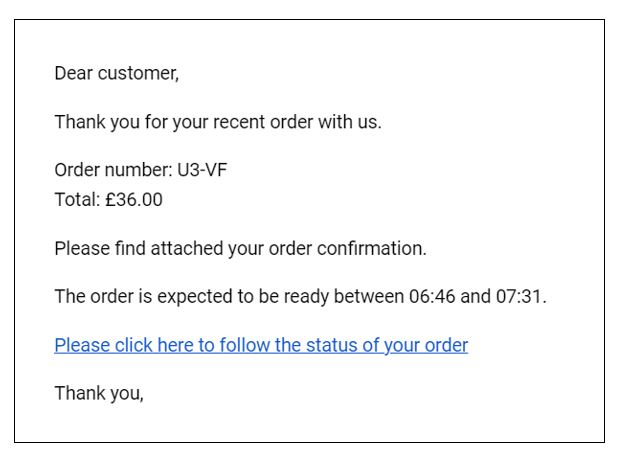
- Order receipt: Order receipt email informs the customer that their order has arrived in the store. It is automated and is sent immediately after the customer submits an order. The order receipt email shows the customer the order number, order value, an order status follow-up link, and a store link. The store link makes it easier for customers to return to your store, while the follow-up link lets them view the order status from their browser even after closing the store.
- Order has been confirmed: The customer will receive a message that your store accepted their order. There are three cases when GonnaOrder will send an email regarding order confirmation.
- A customer will receive an email indicating their order has been accepted without mentioning any other details. This is a case where you or one of your staff members chooses to accept an order as placed.
- Another case is where you or one of your staff members accepts an order as placed and marks it as ready at the same time. In this case, the order notification email will inform the customer that the order is ready.
- The final scenario where an order confirmation email is sent is when you or your staff accept an order and choose to provide an estimated processing time. A similar email is sent when you have set the minimum and maximum order processing times for your store.
Order Status Email: Ready 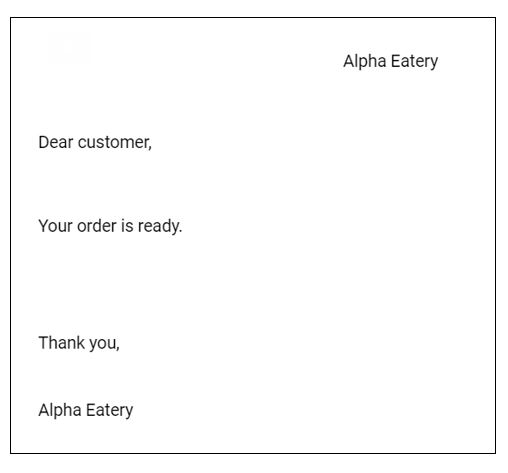
Order Status Email: Expected Time 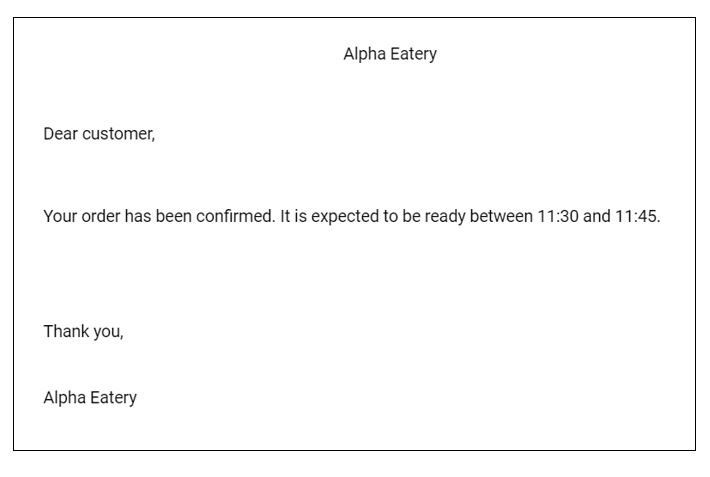
- Order has been rejected: There are two scenarios when an order rejection email can be sent to a customer. In the first case, you or another store staff member will have rejected an order without giving the customer further information. The email will only contain a message saying the order was not accepted.
Order Status: Order Rejected 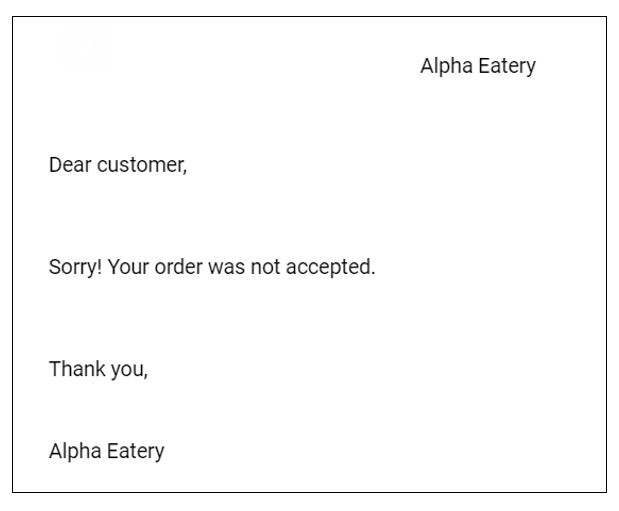
The second type of email sent to confirm order rejection includes a reason for rejection. The email informs the customer that the order has been rejected. Optionally, the email explains why the store could not process the order.
- Order is ready: This notifies the customer that you have finished processing their order, and they can pick it up, or in the case of table service and delivery at a specified address, they should receive it soon.
Send SMS Notification to Customers When Orders are Ready
You can notify your customers when their order is ready for pickup or collection via SMS. This setting ensures timely collection of pickup and delivery orders as customers are informed as soon as their order is ready.
However, only super users can enable this setting on your store and additional charges may apply. You can send your request to enable this setting to GonnaOrder support via support@gonnaorder.com.
This setting is available under Settings > Order Management > SMS notifications when order is ready . To enable it, toggle the button to Yes.
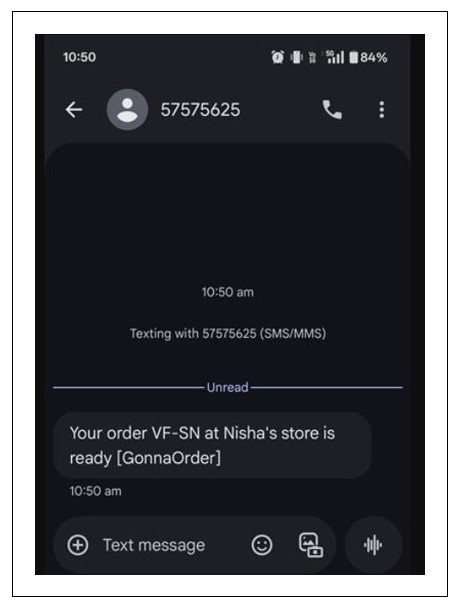
Here is a sample message sent to the customer, notifying them that their order is ready.
Requirements for Enabling SMS Notification when Order is Ready
- Only platform admins and super admins can enable the SMS notification when order is ready feature. The setting is available but deactivated for normal admin users.
- Additional charges may apply. Extra costs per SMS may apply and you need to come to an agreement with the support team on whether to pay per order or have higher subscription.
- The SMS will only be sent to the customer when an order is marked as ready.
- Customers receive the SMS notification on the phone number they included when submitting their order.
Email Customers When their Order Delivery Status Changes
It’s important to inform your customers about the progress of their order under delivery. You can enable email notifications to inform customers when a major delivery status change occurs. This ensures that customer are aware of when to expect their order to be delivered.
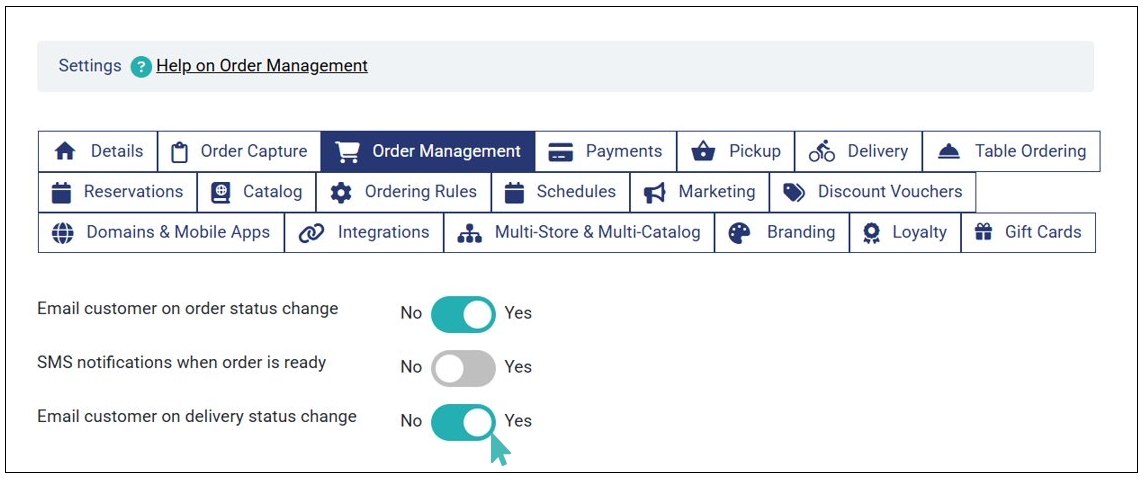
To enable the Email customer on delivery status change setting, follow these steps:
- Go to your store Settings and click the Order Management tab.
- Find the Email customer on delivery status change setting and toggle the Active button to Yes.
- Here’s a sample email sent to the customer when their order delivery status changed.
When enabled, customers will receive an email when:
- An order is picked up by the courier for delivery. The email will notify the customer that the order is on its way.
- An order has arrived at the delivery address provided by the customer during order submission.
- An order has been delivered to the customer, and the customer has successfully collected it.
Note
When you activate the Email customer on delivery status change settings, it is important encourage customers to provide their Email when submitting delivery orders.
Set Order Processing Time
Giving your customer an estimated order processing time may go a long way in increasing satisfaction rates and, therefore, customer retention. GonnaOrder allows you to set your minimum and maximum order processing time labeled as Time range in minutes until order is ready.
This setting is available in the store settings under the Order Management tab. You should fill in the minimum and maximum time (in minutes) you typically need to process an order until it is ready.
The time you use here will show your customers who opt to receive order status change notification emails, particularly those who want to receive an order as soon as possible.
For example, if a customer submits a breakfast order at 6:31 AM and they have chosen to receive it as soon as possible, GonnaOrder will notify them via email that the order will be ready between 6:46 AM and 7:31 AM based on the minimum and maximum ordering times we set in the previous image.
GonnaOrder adds the minimum order processing time to when an order is submitted to arrive at the earliest possible time when the order can be ready. Similarly, GonnaOrder will use the store’s maximum order processing time to calculate when the customer can pick up or have the order delivered.
In a different case, if a customer chooses to have their order at a later date but without specifying the time, GonnaOrder will insert the said date into the notification email and notify the customer that the order should be ready on the given date.
Tips to Consider When Setting Order Processing Time
The order processing time is a crucial order management feature that keeps your customers informed about their orders. However, you need to know several things about this feature to achieve the best outcome and ensure all the customer orders are fulfilled within the set time limits.
Setting Minimum Time: This refers to the average time needed to prepare an order. For example, if the average preparation time at your store is 10 minutes, you should enter 10 in the Minimum field. The exact time will vary based on the type of store. Fast food outlets may set a lower minimum time (example, 5–10 minutes). On the other hand, larger restaurants that handle more orders or offer customized dishes may require a higher minimum time (example., 15–30 minutes).
Setting Maximum Time: This is the maximum time an order should take to reach the customer. For stores offering short delivery ranges, add a few minutes to the minimum preparation time. For example, if the minimum time is 15 minutes and delivery takes 10 minutes, set the maximum time at 25 minutes in the Maximum field. For larger delivery areas, allow more time to ensure the order arrives within the promised timeframe.
Automatically Accept Orders
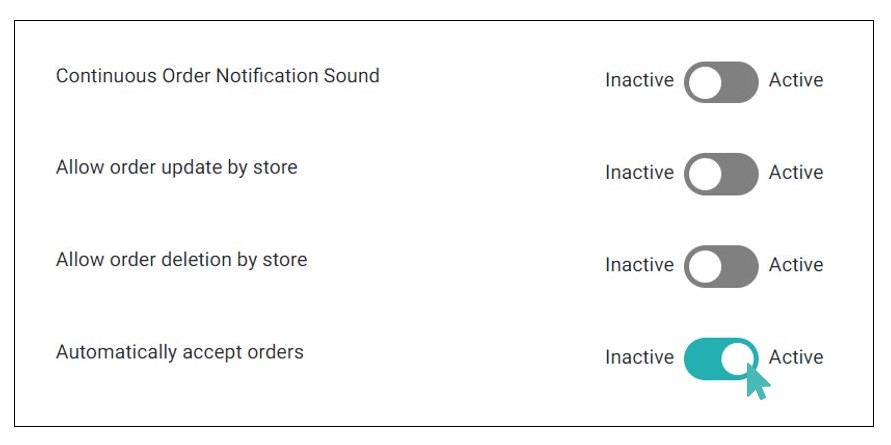
Often, you do not need to accept orders manually. This is usually possible because you have aligned the product catalog and have the capacity to fulfill every new order. In such cases, automatically accepting new orders relieves your staff of the duty to look through orders and accept them for processing.
This setting is best used with the automatic order printing feature so that orders are automatically accepted and printed out simultaneously. The kitchen staff/waiter can then collect the receipt from the printer and prepare/serve the respective order.
The setting is available on your store dashboard under Settings > Order Management.
Automatically Accept Orders in a Multi-catalog Setup
The automatic order acceptance setting is controlled by individual store settings. Therefore, in a multi-store setup, orders are automatically accepted only if the child store has the setting activated.
Orders will not be accepted if the setting is disabled for the child store, even if the setting is active on the parent.
You must, therefore, enable the setting in all child stores when necessary.
Order Status Changes and Notifications for Automatically Accepted Orders
Notifications for automatically accepted orders
Accepting orders automatically affects how you get notified of new orders. GonnaOrder provides multiple notification channels and methods and you will always have options to choose from.
Notifications that continue to work
Notifications that don’t work for automatically accepted orders
How the Order Status Changes
The status of automatically accepted orders changes from Sent to Accepted upon submission. This does not require any action from the waiter. The new orders immediately appear on the Confirmed orders tab instead of the open orders tab. Your store may also send an order confirmation email if the respective setting is enabled.
Manage How Order Receipt PDF Appears
An order receipt pdf is one that is sent to the customer’s email address when they place an order at your store. Also, the same is sent to the store owner if they have provided their Order Notification Email.
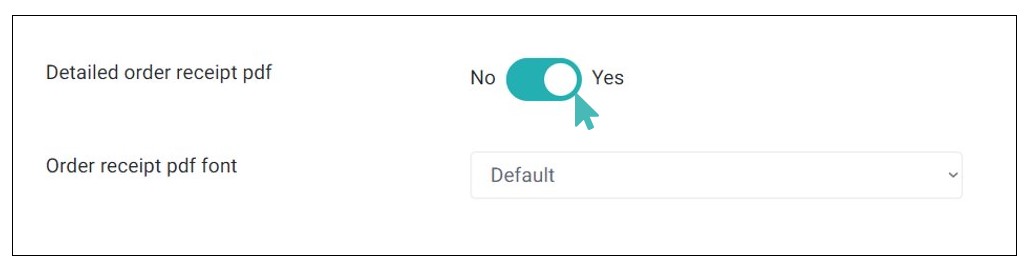
As a storeowner, you can determine how you want the order receipts pdf to look like. The receipt can be short or detailed in description. Navigate to Order Management tab in the Settings page.
You can toggle the Detailed order receipt pdf button to Yes to print detailed order receipts.
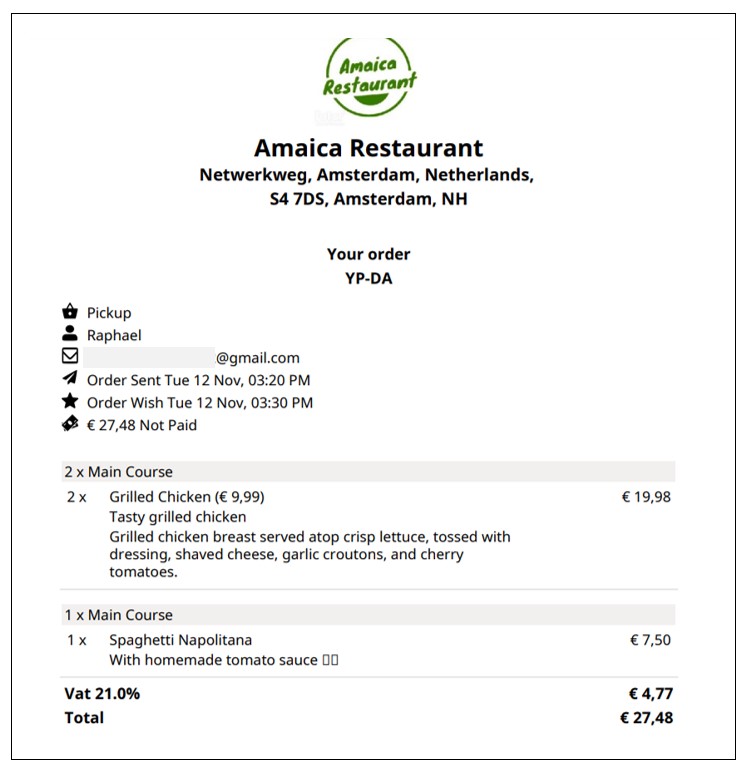
When you set this option, the order receipt pdf contains all details about order items. This include the following:
- Item category
- Quantity (1x, 2x, and so on.)
- Price
- Short description (if provided)
- Long description (if provided)
- Price description (if provided)
- Price variant (if provided)
- Options (if provided)
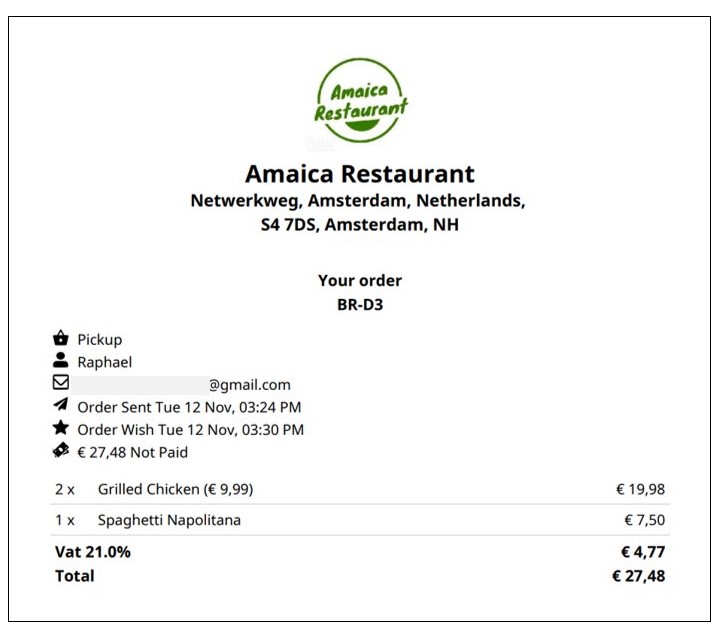
Alternatively, you can toggle the button to No to print less detailed order receipts.

When you set this option, the order pdf receipt will only contain key details about the order items, that is:
- Order item
- Quantity (1x, 2x, and so on.)
- Price
- Price variant (if available)
- Options (if available)
Here is how an order receipt pdf with similar items will appear when you deactivate detailed order receipt pdf.
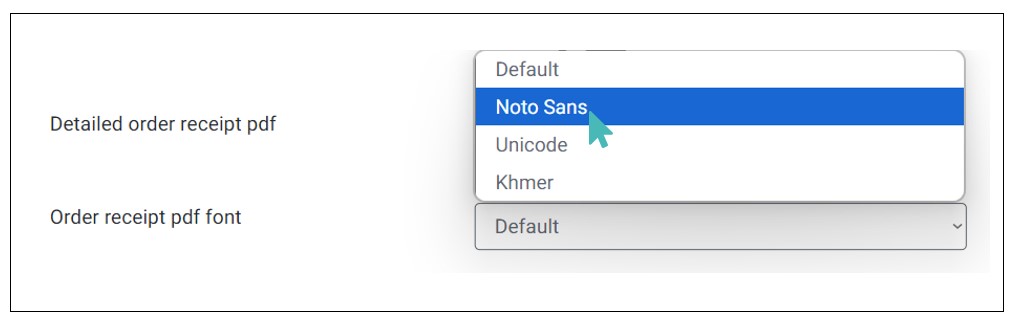
Select the Preferred Order Receipt PDF Font
GonnaOrder allows you to choose the font that will be used in the order receipt PDF. To select the preferred font, go to Settings > Order Management and scroll down to find Order receipt pdf font. Select the preferred font from the dropdown. It can either be Default, Noto Sans, Unicode, or Khmer. Once selected, the font of choice is automatically saved and applied in the future order receipt pdfs that are sent to the customer.