Table reservation is a feature that allows customers to book a table within a specified period. You can reserve a table for several people as long as the number of people is within the table’s minimum and maximum capacity. GonnaOrder allows you to customize table reservation settings to meet your needs. This ensures a smooth reservation experience.
On This Page
- Set Default Number of People
- Allow Customer Reservations
- Set Default Table Reservation Duration
- Set a Table Reservation Schedule
- Set a Customer Reservation Schedule
- Set Table Reservation Time Intervals
- Choose Whether to Collect Customer Details on Reservation
- Auto Confirm and Auto Assign Table Reservations
- Email Customers on Table Reservation Status Change
- Set a Reservation Charge Strategy
Set Default Number of People
GonnaOrder allows you to set the default number of people that you can reserve a table for. This number can be based on anything, from minimum table capacity to personal preferences.
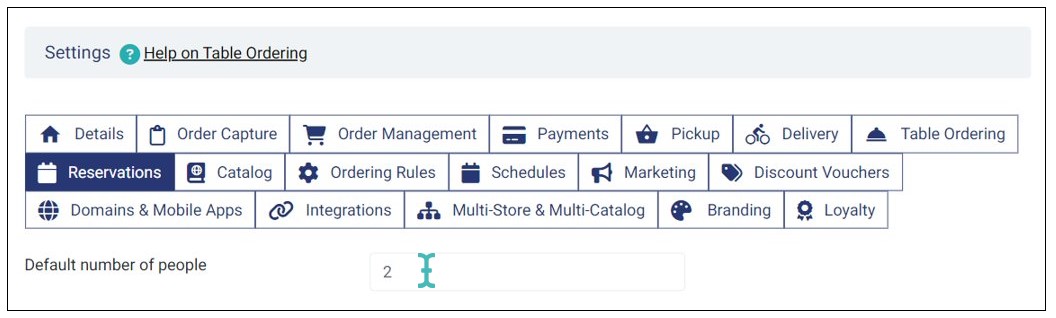
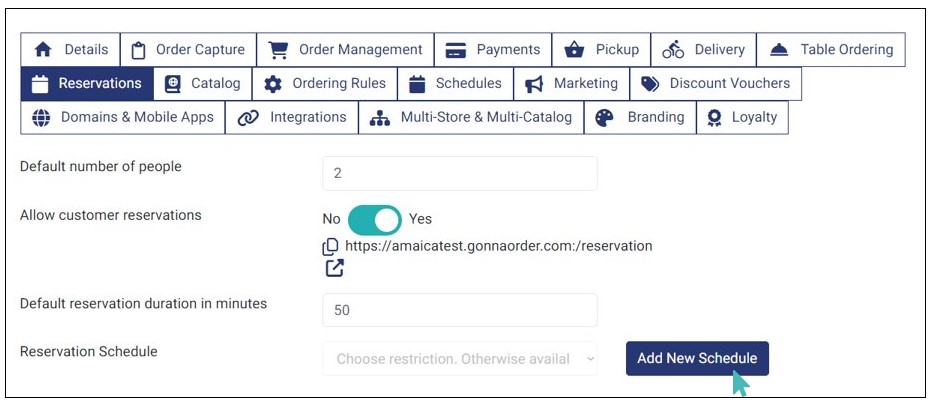
To set the default number of people, go to Settings > Reservations and enter the preferred Default number of people.
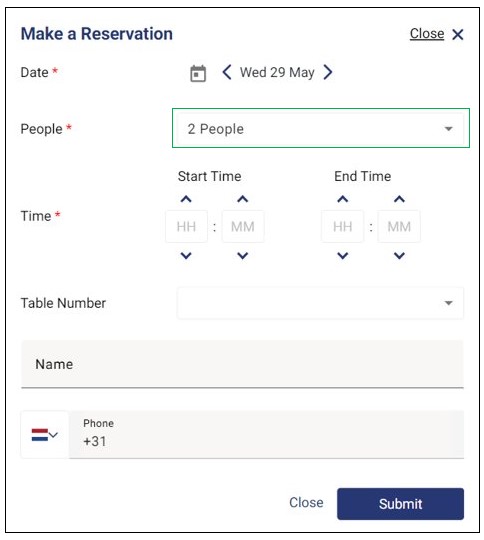
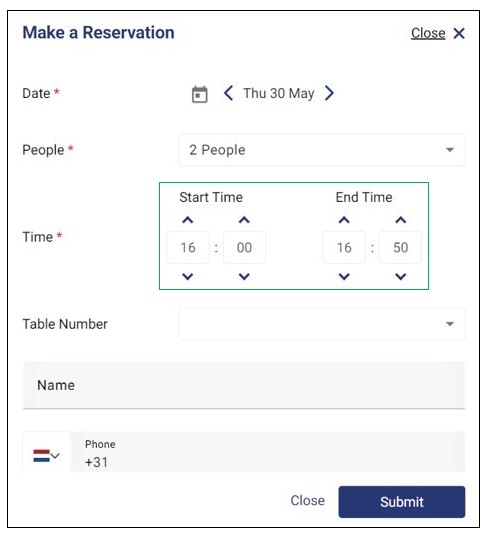
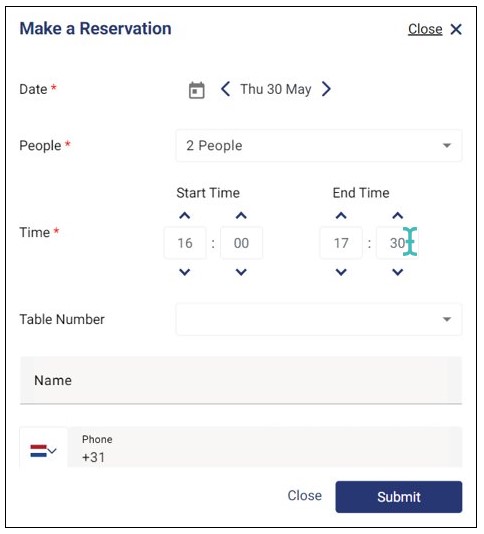
This number will appear by default on the People field when creating a reservation. Learn more about creating reservations.
Note
The default number of people is a preset value. To reserve the table for a different number of people, click the dropdown arrow to adjust it. The selected number must be within the table’s minimum and maximum reservation capacity to be accepted. Learn more about setting maximum and minimum reservation capacities. Learn more about setting maximum and minimum reservation capacity.
Allow Customer Reservations
GonnaOrder enables you to stay in control of your customer reservations. This means you can choose whether to allow customers to make reservations or not. Therefore, as a store owner, you choose what works best for your store with regard to customer reservations.
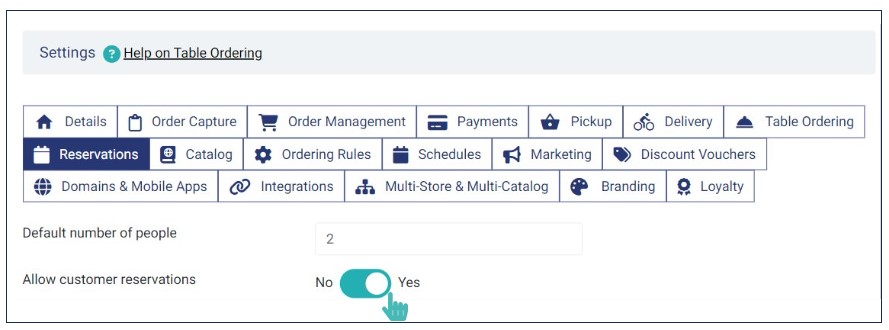
To allow customers to make reservations, go to Settings > Reservations and toggle the Allow customer reservations button to Yes.
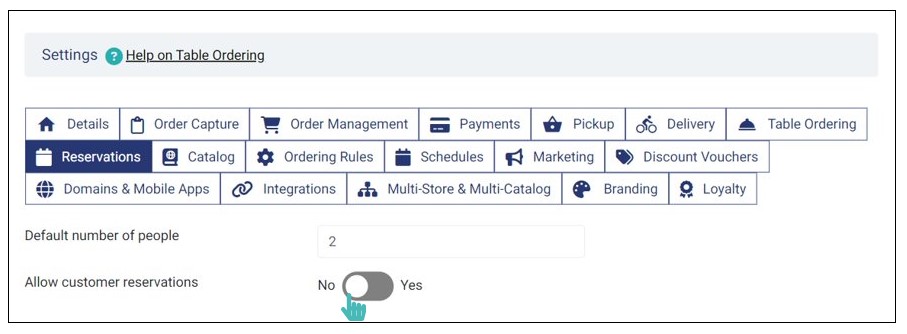
Similarly, if you no longer want to receive customer reservations, either temporarily or permanently, you can toggle the Allow customer reservations button to No.
Set Default Table Reservation Duration
Reservation duration is the time within which one can reserve a table. GonnaOrder allows you to set the default reservation time in minutes, helping you manage your reservations better.
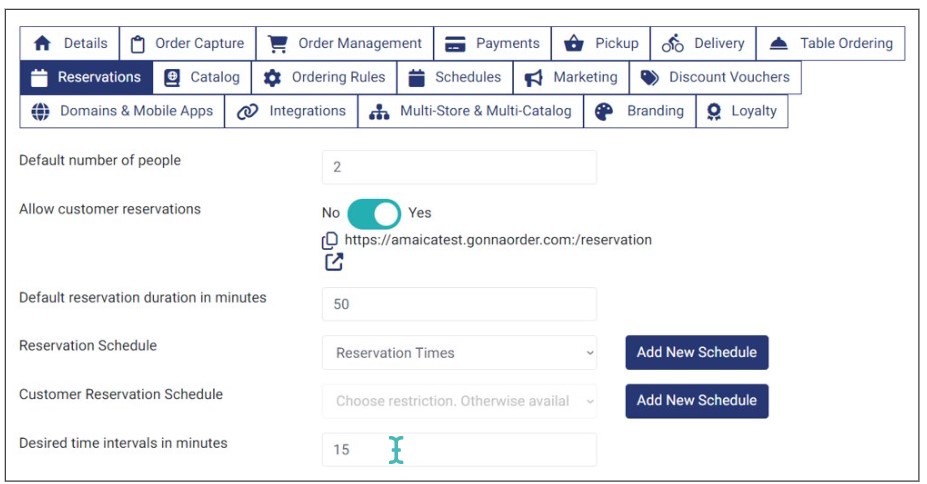
To set the default reservation time, go to Settings > Reservations and update the Default reservation duration in minutes field to your preferred number of minutes.
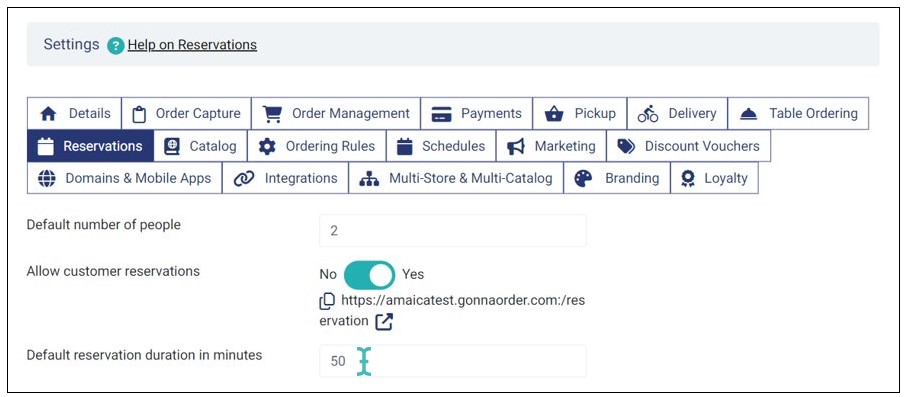
Let’s say you set the default reservation time to 50 minutes. In that case, when you create a reservation with a start time of 1600 hrs, the end time will automatically update to 1650 hrs.
Note
You can change the default reservation duration to the desired time in case you want to reserve a table for a longer or shorter period than the default duration. Simply enter the end time manually or use the up and down arrows to set the desired reservation duration.
Set a Table Reservation Schedule
GonnaOrder allows you to be in charge of when reservations can be made by the store admin. In that case, you can choose a schedule within which you can create a reservation. This means, you will not be able to create a reservation within a time period that is outside the selected schedule.
To choose what time the store admin can reserve a table, go to Settings > Reservations and find the Reservation Schedule field.
Select a schedule that matches your preferred timeline for reservations.

If none of the schedules in the dropdown list meets your preferred reservation timelines, you can create a new schedule, specifically designed for reservations. To create a new reservation schedule, click Add New Schedule.
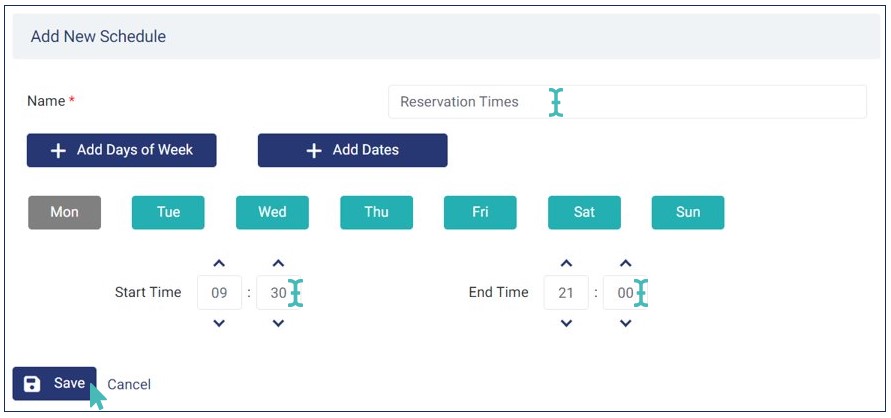
Enter your preferred reservation schedule details, including the name, days of the week, start time, and end time. Once you confirm the details, click Save.
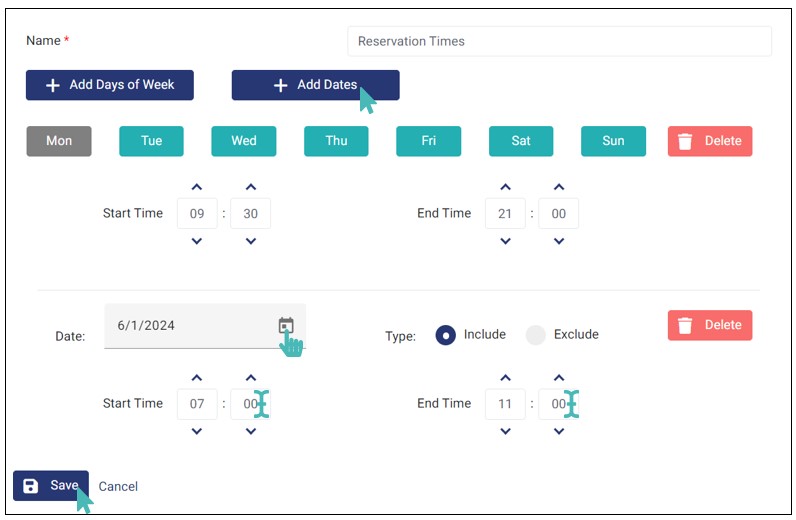
You can also create a reservation schedule for specific dates, like Christmas or even Valentine’s day. To do so, click Add Dates and select the Date, Type, Start Time, and End Time. Finally, click Save. Learn more about creating schedules for specific dates on the dedicated Manage Schedules and Opening Times help page.
With the preferred reservation schedule created, it’s time to limit reservations within the specified timelines of the schedule. To do so, go to Settings > Reservations and select the schedule you just created on the Reservation Schedule dropdown list.

Note
If you do not select a reservation schedule, reservations can be made round the clock.
Set a Customer Reservation Schedule
If you have allowed customers to make reservations, you can limit the time within which they can reserve a table. You can do so by selecting a customer reservation schedule. This ensures customers can only reserve tables when your store is ready or available for reservations.
To set a customer reservation schedule, go to Settings on the left menu of your store’s dashboard and click Reservations.
On the Customer Reservation Schedule field, choose a schedule that aligns with your preferred reservation timelines from the dropdown list.
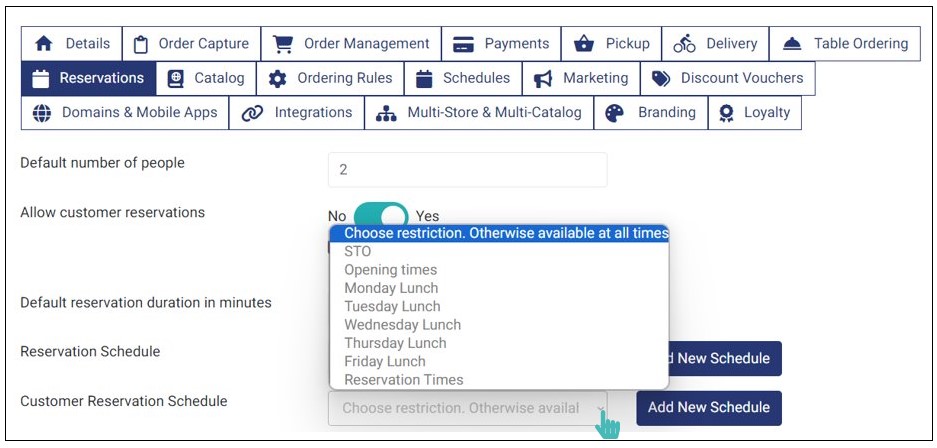
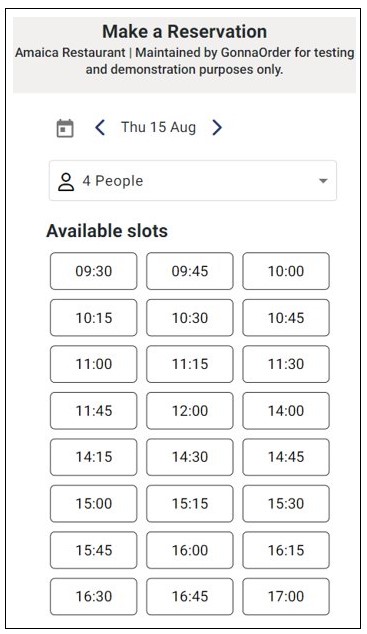
Customers can see timelines within which they can make reservations at your store from the available slots section.
Like in the previous section, you can as well add a new customer reservation schedule if none of the available ones meet your desired reservation timelines. Also, you can add a customer reservation schedule for a specific date. This helps you optimize customer reservations for specific dates, enhancing your overall efficiency.
Note
If you do not select any customer reservation schedule, customers will be able to reserve tables at all times as long as the selected time period does not overlap with that of another reservation. Therefore, you risk of receiving customer reservation requests that your store may not be able to fulfill or accept.
Set Table Reservation Time Intervals
Setting table reservation time intervals is crucial to fulfilling subsequent reservations. It gives you time to clear the table before the next reservation. GonnaOrder allows you to set the desired reservation time intervals in just a few clicks. This means you cannot reserve a table immediately after one reservation period expires. Instead, you have to leave a gap of the set time interval when creating the next reservation.
For instance, if the first reservation ends at 1345 hrs and the set time interval is 15 minutes, you can only create the next reservation to start at 1401 hrs onwards.
To set the preferred reservation time intervals, go to Settings > Reservations and find the Desired time intervals in minutes field. Enter the desired time interval to proceed.
Choose Whether to Collect Customer Details on Reservation
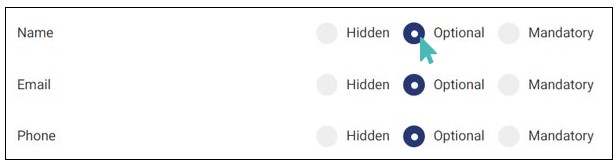
GonnaOrder allows you to choose whether to collect customer details when creating a reservation or not. You can set Name, Email, and Phone as hidden, optional, or mandatory. To do so, go to Settings > Reservations and choose which details you want to set as Hidden, Optional, or Mandatory.
Here is what each option means:
- Hidden: When you select this option for the name, email, or phone, the field(s) will not appear when customers are creating a reservation.
- Optional: If you choose this option, the name, email, and phone fields will be optional. Therefore, customers can submit a reservation without the filling in the said details.
- Mandatory: When you make the name, email, or phone mandatory, customers must enter them when making a reservation. Otherwise, they’ll not be able to submit the reservation without filling in the mandatory fields.


Note
You can combine different requirements for creating a reservation. This means you can set Name as hidden, Email as optional, and Phone as mandatory or any other combination that fits your needs.
Auto Confirm and Auto Assign Table Reservations
Manually confirming and assigning reservations can be time-consuming, especially when you handle many reservations a day. However, it doesn’t have to be daunting as such. GonnaOrder allows you to activate the auto-confirm setting, which means incoming reservations are automatically accepted/confirmed.
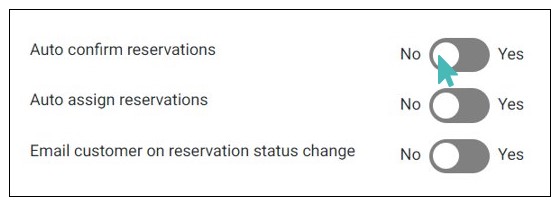
To activate the auto-confirm setting, go to Settings > Reservations and scroll down to find Auto confirm reservations. Toggle the button to Yes.

If you no longer want to automatically confirm reservations, you can deactivate the setting by toggling the Auto confirm reservations button to No.
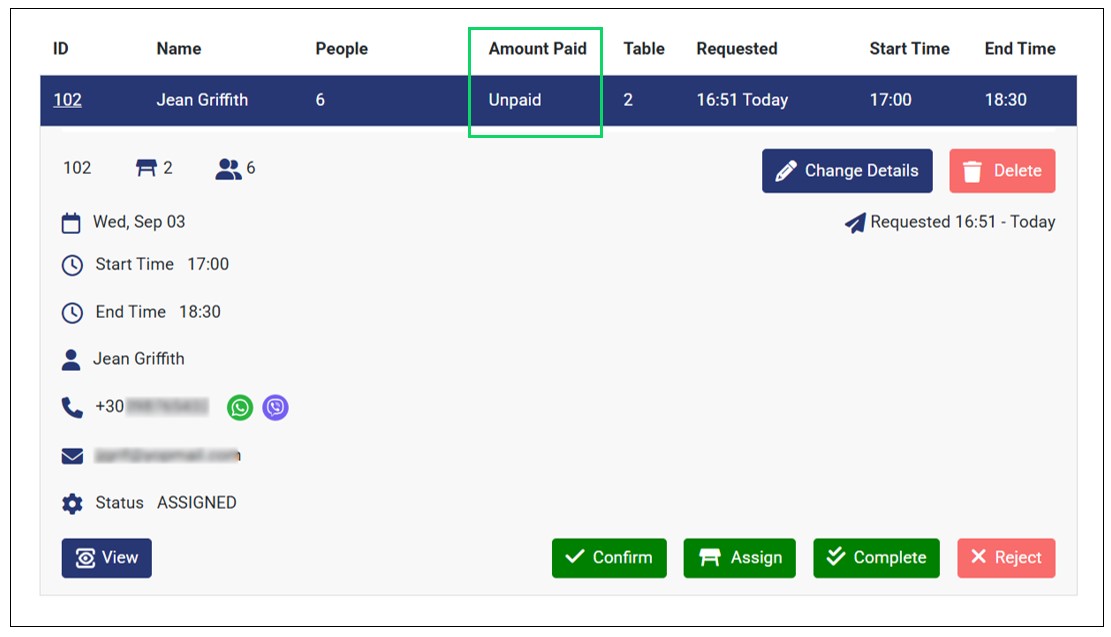
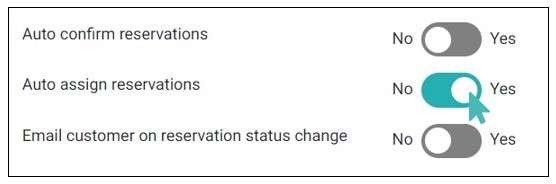
Similarly, you can enable the auto-assign reservations setting instead. This means incoming reservations are automatically assigned and are listed on the Assigned status on the admin UI.
To enable this setting, toggle the Auto assign reservations button to Yes.
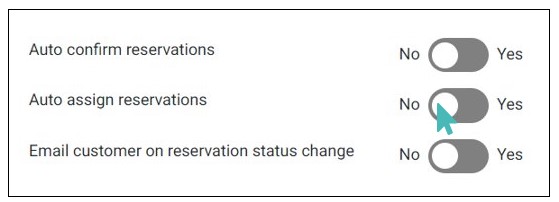
However, for one reason or another, you may want to deactivate the auto-assign reservation setting. In that case. you can simply toggle the Auto assign reservations button to No.
Email Customers on Table Reservation Status Change
GonnaOrder allows you to choose whether to email customers on reservation status change or not. By activating this setting, customers can easily follow up on their reservation status.
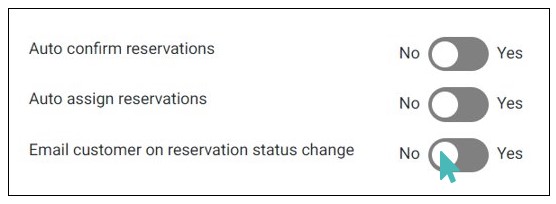
To activate this setting, go to Settings > Reservations and scroll down to Email customer on reservation status change. Toggle the button to Yes.
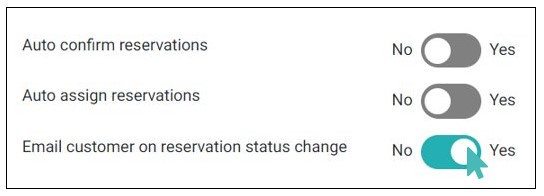
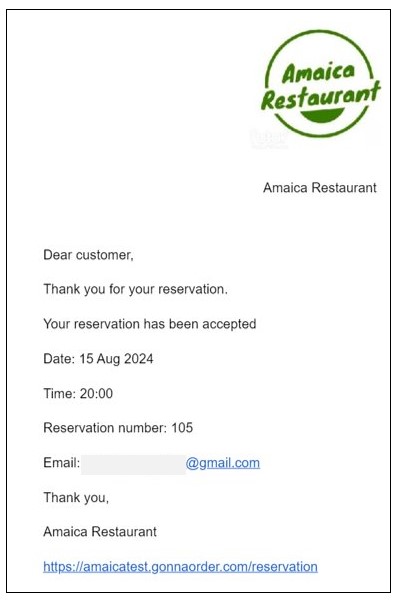
When enabled, the customer receives an email informing them about every change in their reservation status.
On the other hand, if you no longer want to email customers on reservation status change, toggle the button to No.
Set a Reservation Charge Strategy
You can set charges for customer reservations. When set, customers are required to make an upfront payment online when submitting a table reservation at your store. GonnaOrder allows you to set how you want your customer to be charged when submitting their reservations.
There are three strategies in which you can set your reservation charges, that is:
- Per person
- Per reservation
- No charge
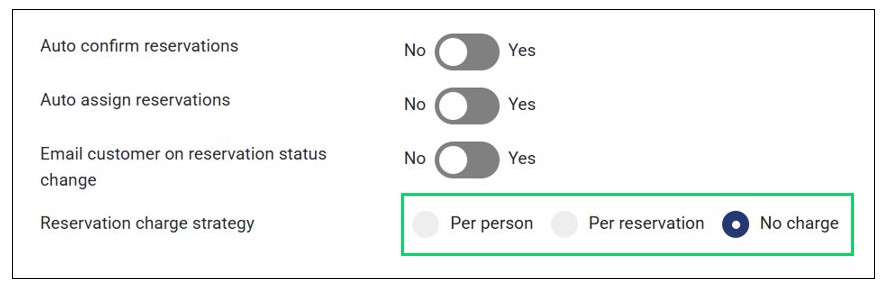
To set your reservation charge strategy, navigate to Settings > Reservations and find Reservation charge strategy.
Next, select the desired reservation charge strategy for your store.
Here is a more detailed overview of each payment strategy.
Per Person Charges
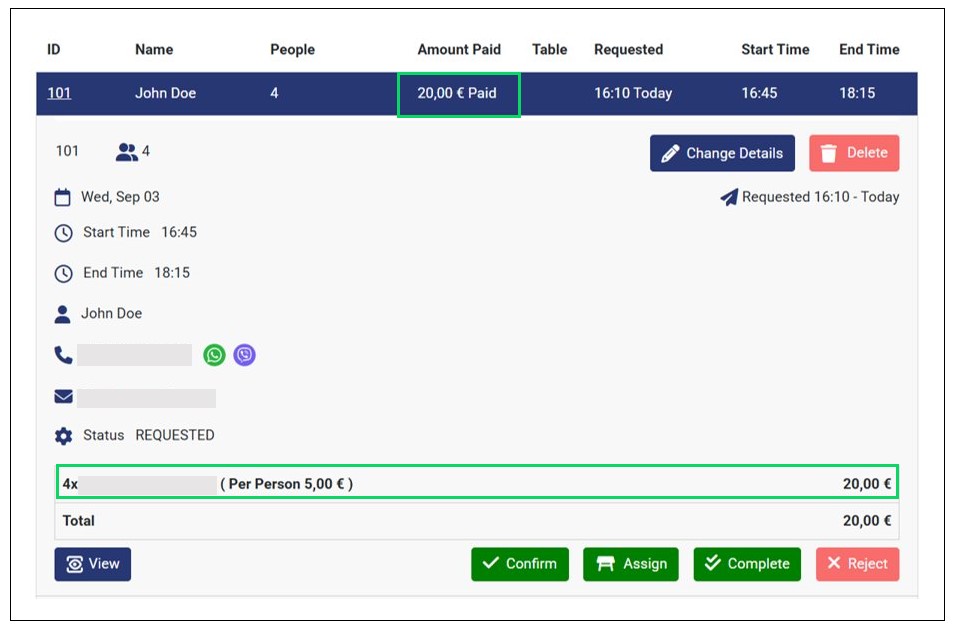
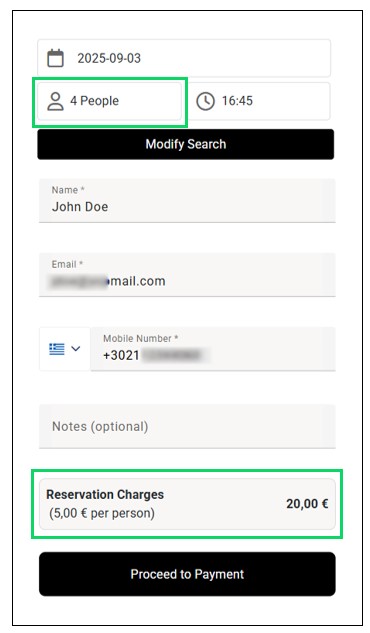
As the name suggests, Per person charges sets reservation charges based on the number of people. Therefore, the charges will vary depending on the number of people you’re reserving a table for. The higher the number of people, the higher the reservation charges. For instance, if the per person charge is €5 and the user selects 4 as the number of people, a total charge of €20 will apply.
To set the Per person reservation charge strategy, select the option and enter the amount you’ll charge for each individual.

The customer will see the total reservation charges when submitting the reservation.
Per Reservation Charges
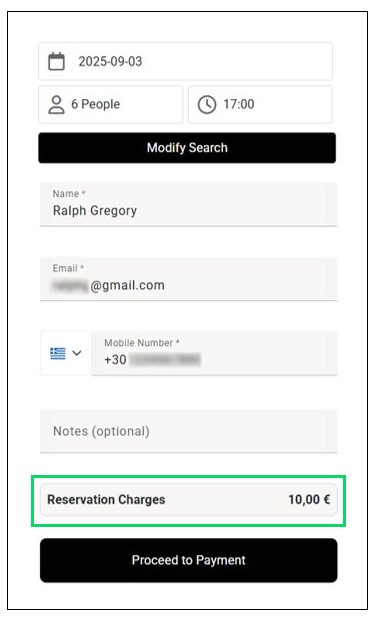
The Per reservation charge applies a constant charge for every reservation, regardless of the number of people. In this case, if you set the per reservation charge at €10, every reservation will be charged €10.
To set the Per reservation, charge strategy, select the option and enter the amount you’ll charge for each reservation.

Here’s how what each customer will see when submitting their reservation at your store.
No Reservation Charges
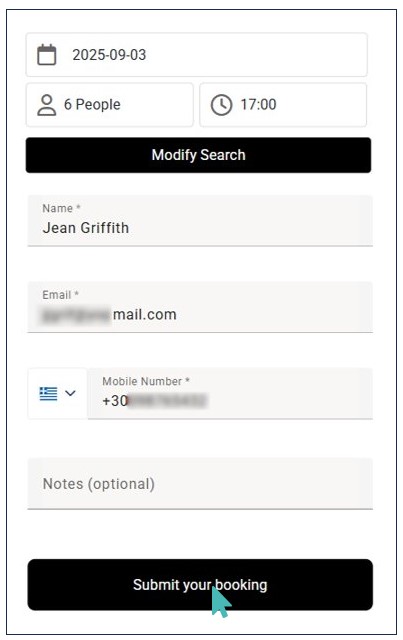
You can set zero charges on reservations. This means customers are able to submit their reservation without making a payment. Simply select No charge as your preferred Reservation charge strategy under reservation settings.

The Submit your booking button will appear on the reservation submission page. Therefore, there will be no payment option for the customer to reserve the table.
Note
- For the reservation charge strategy to work, you must enable one of the supported online payment methods under payment settings.
- The main difference between Per person and Per reservation strategies is that per person reservation charges varies depending on the number of people while per reservation charges remain constant regardless of the number of people.
- When you set the reservation charge strategy to per person or per reservation, the customer will see a Proceed to Payment button on the reservation submission page. On the other hand, if the No charge option is selected, a Submit your booking button will appear when submitting the reservation.